
Help
Installation Guide
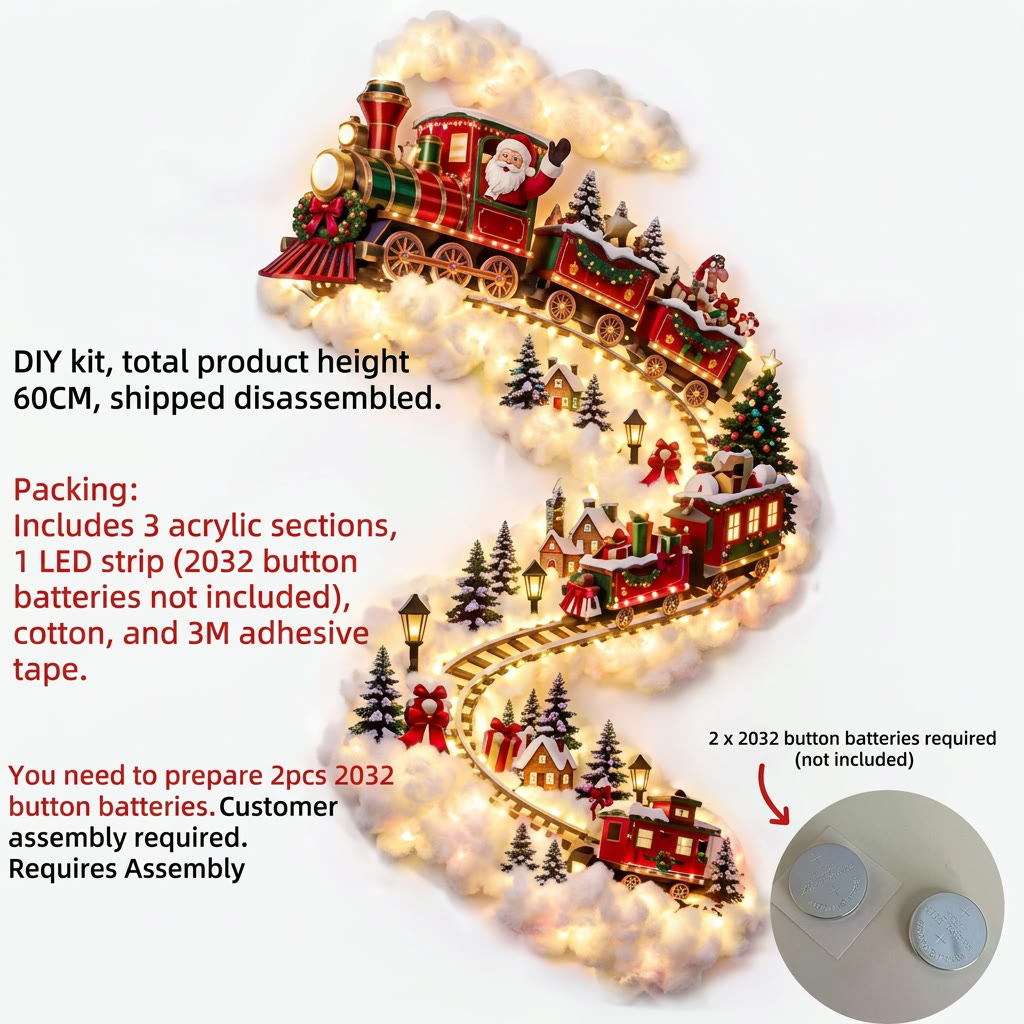
Your Pine & Gleam decoration arrives as a DIY kit. You arrange and attach the decorative pieces, lights and cotton to create your own glowing Christmas scene.
Before you begin
Components are packed separately inside the package. Unpack everything, check the contents and carefully unfold the light wire.
In your kit
- Decorative Christmas scene pieces
- Warm LED light components
- Decorative cotton for the snow effect
- 3M adhesive tape
You’ll also need
- 2 CR2032 button-cell batteries (not included)
- A clean, dry cloth
- A pencil or removable tape to mark your layout (optional)
- A measuring tape (optional)
Step by step
Choose the right wall
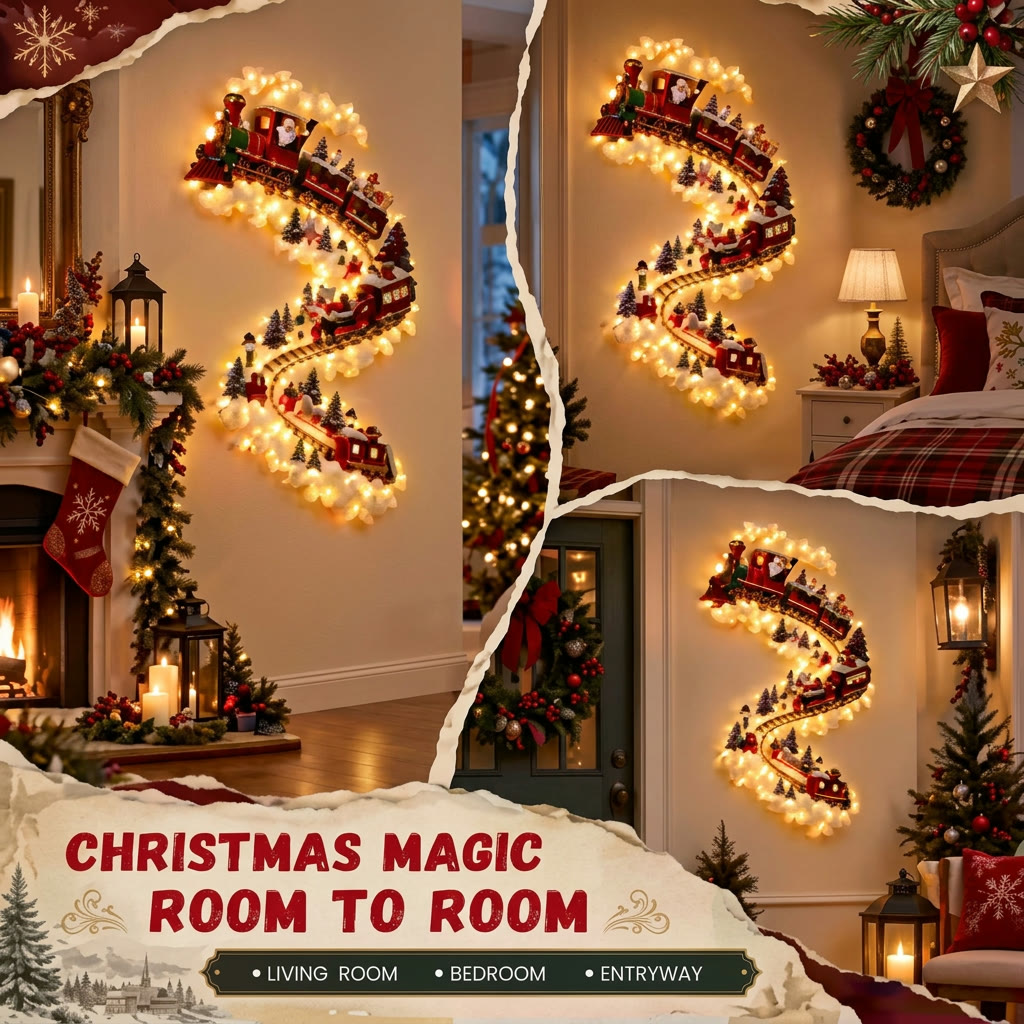
Select a clean, dry and smooth indoor wall with enough room for a scene about 23.6 in (60 cm) tall. Living rooms, entryways, hallways, staircase walls and bedrooms all work beautifully.
Avoid:
- Damp or dusty surfaces
- Heavily textured walls
- Wallpaper
- Flaking or freshly painted surfaces
- Walls exposed to heat or direct moisture
Adhesion can vary depending on the paint, texture and condition of the wall. Test one piece of adhesive tape in a hidden spot first.
Plan the complete layout
Lay every piece on the floor or a large table before removing any adhesive backing.
Place the main character, sleigh or train at the top, then arrange the other decorative pieces underneath. Shape the light wire into a flowing S-shaped trail.
Take a photo of your planned arrangement — it makes a handy guide while you install.
Test the lights
Before attaching anything, insert 2 CR2032 batteries into the battery box, switch the lights on and check that the whole light wire works.
Keep the battery box, switch and connectors where you can reach them — never hide them permanently under the cotton.
Prepare the surface
Wipe the installation area with a clean, dry cloth to remove dust. Let the wall dry completely before applying any tape.
Avoid household cleaners that leave an oily or slippery residue.
Attach the top decoration
Start with the main decorative piece at the top. Apply the included 3M adhesive tape to the back, remove the protective film, position the piece carefully and press it firmly against the wall for a few seconds.
Don’t move on until the top piece feels secure.
Create the light trail
Guide the LED wire downward in a gentle S shape. Use small pieces of tape at regular points and around each curve to hold it in place. Leave the wire slightly relaxed rather than pulling it tight.
Don’t puncture, cut or sharply twist the wire, and never place tape directly over an electrical connector.
Add the decorative pieces
Position the smaller houses, trees, stars, snowflakes and other details along the glowing trail. Attach each piece individually and press gently.
Step back now and then to check the overall shape and spacing.
Add the snowy touch
Gently pull the cotton apart with your fingers to create soft clouds of snow. Place small amounts around the light wire and between the pieces — along the bottom, on rooftops or around the characters.
Build the effect gradually rather than attaching one large piece. A little goes a long way, and the switch and battery box should stay uncovered.
Switch on the magic
Turn the lights on, step back and enjoy your Christmas scene glowing on the wall. Then run through the final check below.
Final check
- Every decorative piece is secure
- The light wire isn’t stretched
- The battery box and switch remain accessible
- No cotton covers the switch or connectors
- The display is out of reach of small children and pets
Your Pine & Gleam wall display is now ready to enjoy.
Tips for the best result
- Install at room temperature: adhesive tape holds best on a wall that isn’t cold or damp.
- Pair your scene with greenery, garlands or ornaments to complete your holiday decor.
- Turn the lights off when you leave the room to make your batteries last longer.
- Planning a Christmas Offer trio? Lay out all three scenes before you start so they work together on one wall or flow from room to room.
Taking it down after the holidays
Turn off the lights and remove the batteries before taking the display down.
Support each piece with one hand while gently releasing the adhesive with the other. Work slowly to reduce the risk of damaging the wall or the decoration — never pull the whole display off the wall at once.
The pieces and lights can be reused next Christmas. The original tape may lose strength after removal, so you may need new adhesive suited to your wall.
Important care information
- For indoor decorative use only
- Customer assembly required
- This is a decoration, not a toy
- Keep away from flames, heaters and water
- Don’t use damaged lights, wires or battery compartments
- Keep small parts and button-cell batteries away from children and pets — they can cause serious injury if swallowed
- Remove the batteries during long periods of storage
- Store every component in a clean, dry place
Need help with your installation? Contact us anytime — we’re available 24/7.
Contact Pine & Gleam